Discovering a Different Kind of Poetry I never liked poetry. When reading poems, I don't…
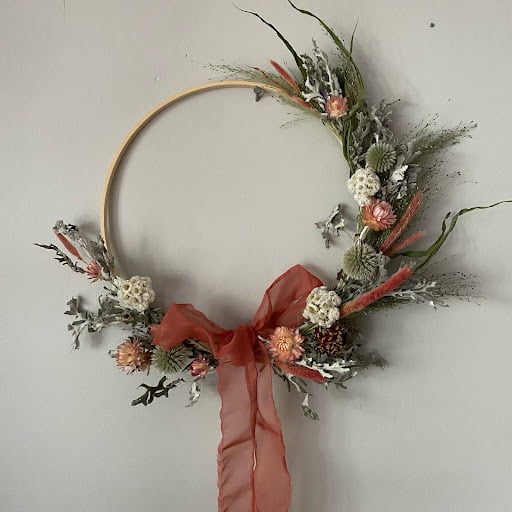
How to Make a Dried Flower Wreath
Here at Twiggage & Bloom micro flower farm, we’ve been selectively drying the sweetest blooms over the summer to provide you with this simple craft project: Dried Flower Wreath Kits! We found the loveliest ribbons and curated 3 colour options that will look fab with any home or office decor.
Terracotta Dried Flower Wreath Kit

Champagne Dried Flower Wreath Kit
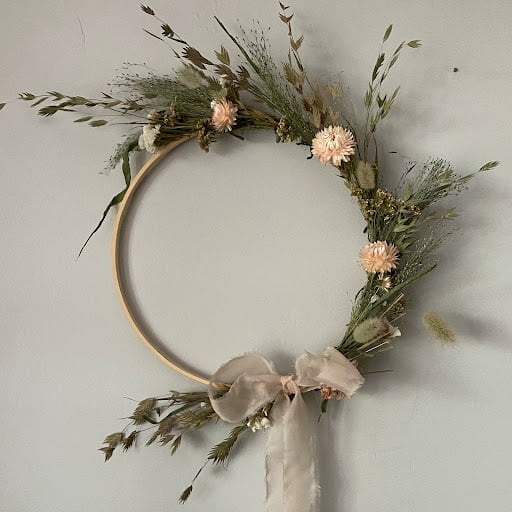
Moss Dried Flower Wreath Kit
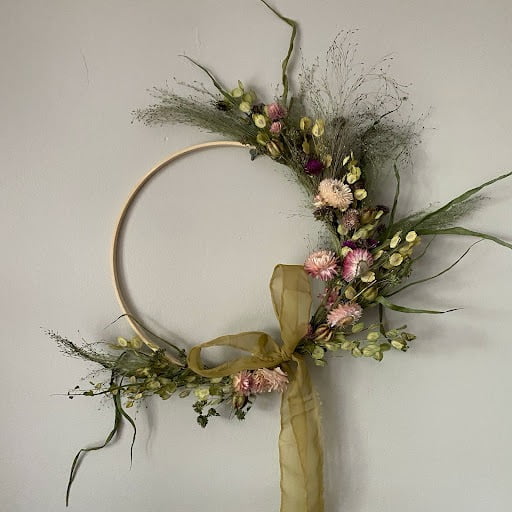
How to make a dried flower wreath with our handy DIY kits
OUR KITS INCLUDE:
- One 10″ bamboo wreath frame
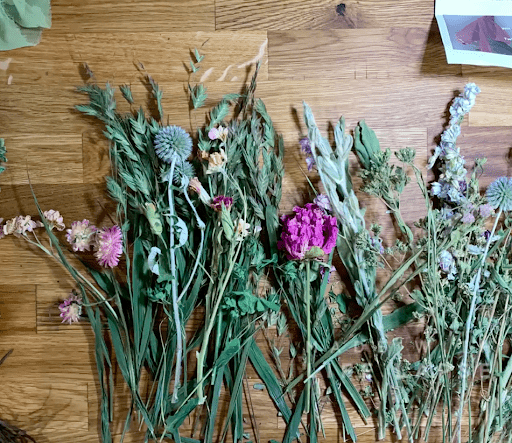
- a selection of everlasting flowers & twiggage
- ribbon
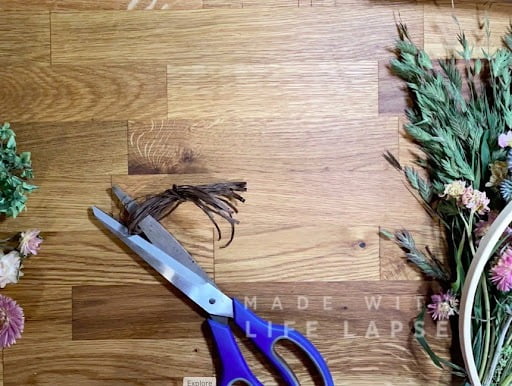
- bindwire (tip: snip the spooled wire at each loop end = 18 twist ties!)
WHAT YOU WILL NEED:
- workspace (to be able to be creative and a little messy!)
- scissors
- glue (hot glue gun, craft/paper glue)
- tunes and snacks
- this project can be completed in 1 hour
DIRECTIONS:
1. Set aside blooms that don’t have stems.
2. Use a mix of dried materials to make bundles, a nice combination is:
- 2 stems twiggage and foliage
- 2 stems clustered small flowers
- 1 stem big, bossy flower
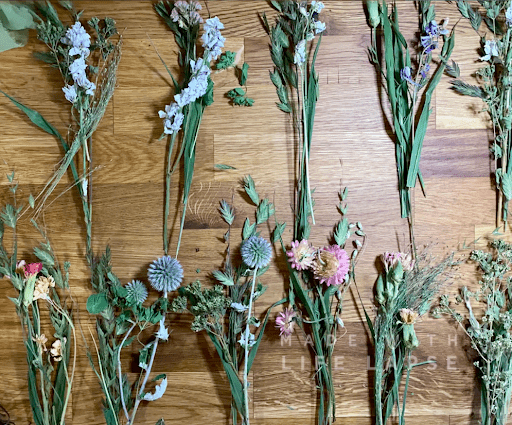
3. For a full wreath make up to 18 bundles. For an asymetrical wreath make 12 bundles.
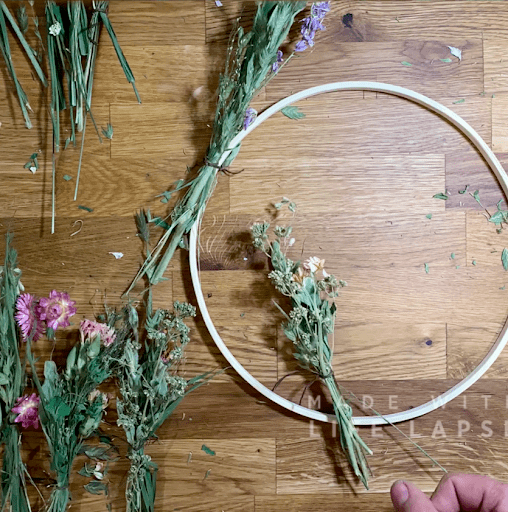
4. Tie the bundles using bindwire ‘twist ties’, leaving the ‘tails’ long.
5. Attach the first bundle to the wreath frame, using the bindwire ‘tails’ but be GENTLE; these dried flowers are delicate!
6. Attach the next bundle by overlapping the first bundle for a clean, lush look.
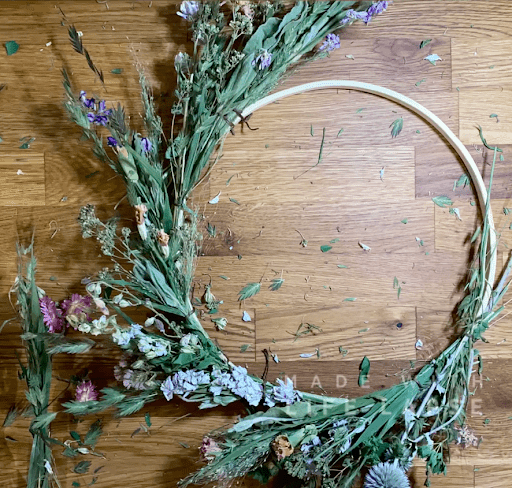
7. Repeat with remaining bundles.
8. Glue on reserved blooms.
9. Attach ribbon.
10. Hang indoors, out of direct sunlight.
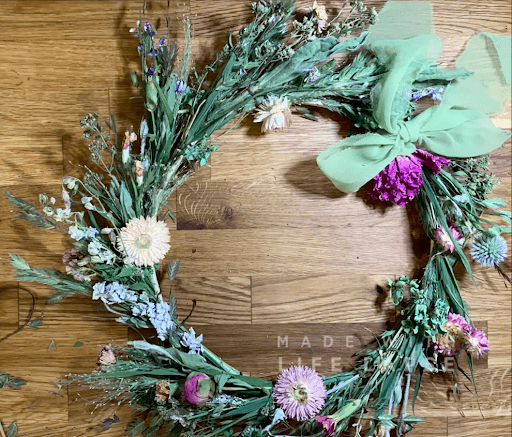
Our DIY kits make great gifts!
- Easy craft for all ages, supervise children.
- Dried flower wreaths will last one year if displayed indoors and out of direct sunlight.
Don’t forget to tag us with your finished wreath! #twiggageandbloom


